PT IV of the Kitchen Chronicles
I can see it. Out there on the horizon. Like a tiny speck of daylight, it’s the finish line of our (not so) little kitchen project. Just a couple of big steps to take and we’ll be there! Before Sheldon Stewart of Stewart Painting can bring his guys in to paint the cabinets, I need to tackle the backsplash. You have so many choices for covering that space…paint, tile, faux brick, tin, copper. I could go on and on. That 18 inches of wall between the counter and upper cabinets is a blank canvas awaiting its artist, and here comes that “Monet of the Mills” to cover it…me. We knew we wanted to tile the backsplash, so that helped whittle down our choices to the mere 27,859 tile options from which to choose. With a sample of the countertop under my arm, Cori and I went to Heritage Floor Covering to talk to Cheryl about finding the perfect tile for our kitchen. We spent the better part of an hour looking at different tiles. Different colors, different shapes, different textures, ugh, here comes that analysis paralysis again! Cheryl had us leave the piece of countertop with her for a few days so she could put together a few different options for us. Cheryl, like Stacy at Coastal-N-Counters, does a tremendous job of working with clients. Hearing what they like and don’t like, and narrowing the ocean of options down to a manageable pond of picks. In our discussion, we learned that we (read: I) didn’t like the long, thin “subway tile” look. That we wanted some color since the cabinets would be painted some shade of off-white. That we agreed on 4”x4” tile, and that a small accent tile running through it would make a nice detail.

We returned a few days later, and Cheryl had pulled sample boards of tile and gave us our instructions: Take the boards home and prop them up against the wall where they’d be going.
***N.O.C. (Note of Caution): It’s good to get input from friends and family about making a decision like this. Just be careful how many viewpoints you get. It could lead to confusing the easily confused (me).
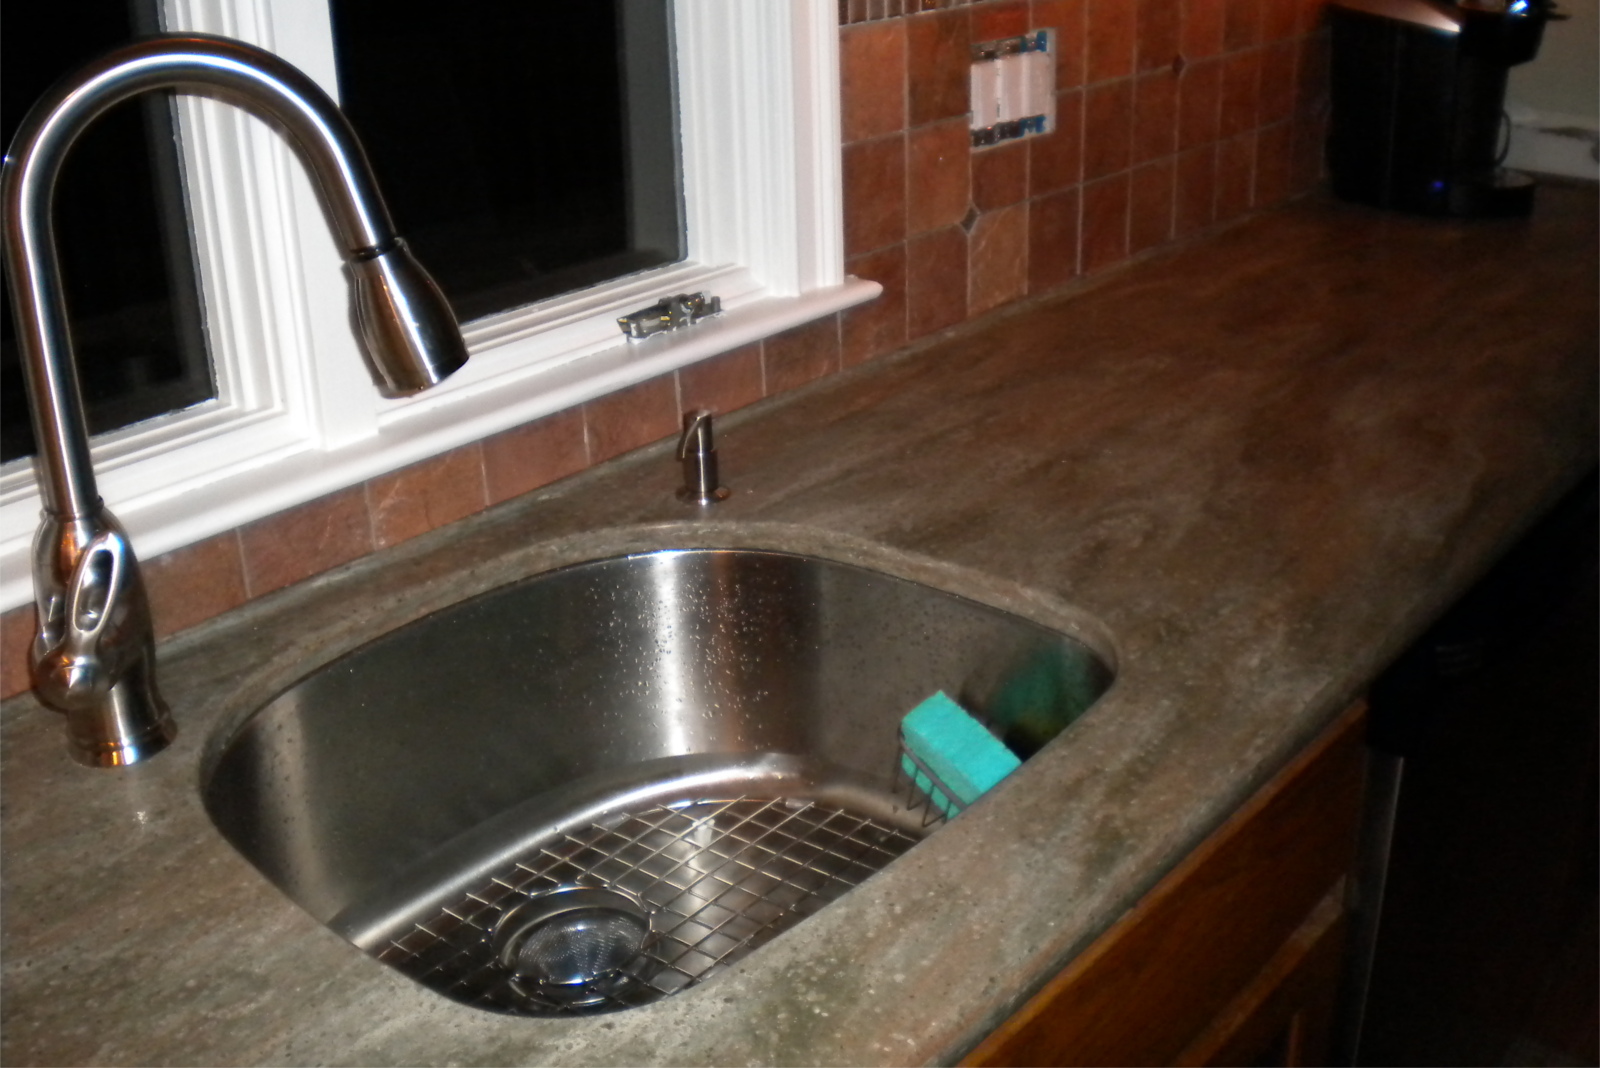
After the deliberations, we chose a tile that had various shades of red through it. The idea was to pull out the rust color of the countertop and tie both surfaces together, which worked beautifully. To add some texture, the tile had a rough finish. Seemed like a good idea at the time. Actually, it seemed like a good idea right up until I had to clean the excess grout off the tiles. The accent tiles we chose were glass 1”x1” of various designs. We, along with Cori’s sister Kathy, worked out the pattern ourselves. I had an eight foot strip of plywood (from the night I needed to make a temporary counter) that was the same width (18”) as the backsplash so we proceeded to lay out the tile. It was as if we were in some sort of art class mixing and matching the big and little tiles until we found a look we all liked. A continuous strip of the glass tiles and occasional accents placed on a 45 degree was just the right amount. The space above the stove is usually an area of focus where a unique pattern is laid. Our problem is a noticeable lack of space, so all I really could do was to place four glass accents next to each other at 45 degrees. Clean, simple, we like it.
If you’ve never attempted tiling before, it’s not that difficult. There are great resources out there. How-to books and on-line videos can walk you through the steps involved. Just plan ahead. Layout your pattern so the cut down tiles are, in this case, up against the upper cabinets and out at the corners. Do your best to keep the full tiles around focal points such as the kitchen window. Like any project around the house, the right tool makes all the difference. In this case, I needed a wet saw to cut the tile. Oh sure, I could have borrowed my father’s, but then I’d have to return it. Where’s the fun in that? Any excuse to buy a brand new shiny toy, right? Hey, some of us grow tall, not up.
I had 21 square feet to tile, and it took me about eight hours to do it. Not exactly breaking any tiling speed records, but there were plenty of cuts to be made. I let that set for a day, and then grouted. Grouting is quite pleasing to do. Compared to tiling, you’re able to move quickly grouting the joints of tiles. After letting the grout set up for 15 minutes or so, it’s time to wipe off the excess with a well wrung sponge. A couple of passes on smooth tile is all you’ll need. Our textured tile and itty bitty glass tile required prolonged scrubbing to get the grout out of all the creases and crevices of the tile without removing it from the joints where it should be. At some point along the way to sheer arm-burning misery, I thought of Uncle Bob. My uncle was a taxidermist of some merit who passed away and I received some tools of his, (not to mention fake eyes, teeth and tongues of the animals he stuffed!) A couple of these tools made me laugh trying to figure out what the heck I’d do with them. Dental picks. I won’t go into detail as to how Uncle Bob used them, but up until this point those little teeth scrapers, which just gave me a chill writing this, sat in my tool chest. Turns out dental picks are great tools for removing grout from the hard to reach places of textured tile. Much like plaque, I suppose. Cori arrived home from work after I made my breakthrough, picked up a pick, and joined in the fun. Believe me, there is a certain amount of joy to be had on the other end of those things when you’re the scraper and not the scrapee.
Now that the surface of the wall is a quarter of an inch further out because of the tile, the outlets and switches are recessed. Small Lego-like blocks that stack together pull them out to the face of the tile. Some new switch plate covers, and we were in business. This was a very gratifying step not only for the dramatic change in appearance it gave the kitchen, but that I did it myself. There really is something to be said for that. Now it’s up to Sheldon and the crew from Stewart Painting to take care of the cabinets. I’ll change out the door hardware, but there’s only so much self-satisfaction I need.
NEXT UP: Well now, that’s a cabinet of a different color…


Leave a Reply